Another year older, another year wiser…. as the saying goes.
So here, have a pineapple. ❤


Another year older, another year wiser…. as the saying goes.
So here, have a pineapple. ❤
I started my first blog not-coincidently during my first year of college. It was a tumblr account and I used it to log of my thoughts and fancies. Tumblr is a popular venue for people who are fans of specific shows, music, movies, people, etc. It is also notorious for being a site of the hipsters and youth; a place for angsty teens to vent about their woeful lives.
I now have many a blog and social medias account, and I use them each purposefully according to their best qualities. Tumblr is where I collect photo and street style inspiration, but during my college years it served as a window into the culture of the world around me while I attended a conservative christian school, it was also where I first saw the boom of memes, and learned the art of a vsco filter before vsco was even a word.
Despite the endless hours of late night scrolling I always felt a slight disconnect from tumblr; being a happier more upbeat person and all. I know, life is rough. On the other hand, I found tumblr was a comforting shoulder to lean on whenever I did need to vent or share my more personal feelings.
Four years later I can conclude that my tumblr served as an incredible log of my college experience, but more importantly it was a window into the transformational years of my young adult life. Just like any one who keeps a journal, we can admit how interesting it is to look back on entries. While most posts were about people and photos I liked, a handful were very personal. I invite you to explore my tumblr archives, and reminisce just as I have today, on it’s four-year old birthday.

I have shared a picture summary of what the majority of my posts have been about (click image to view on tumblr)
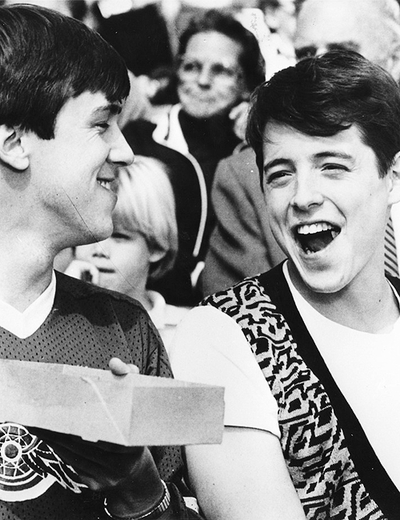
My crush on Ferris Bueller
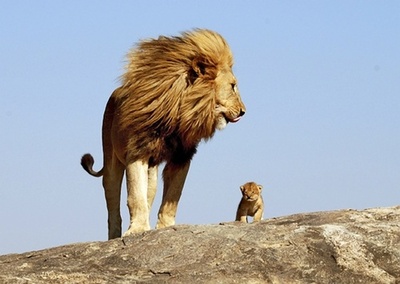
My crush on Simba
My love for Audrey Hepburn

The fabulous Blair (Leighton Meester)

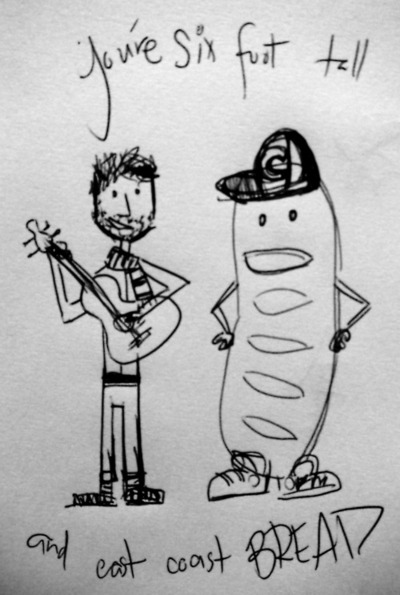
My crush on Andrew Bird
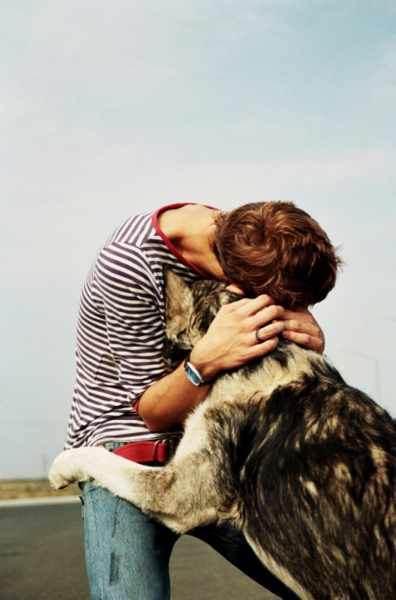
Boys and Dogs
The adorableness that is James Franco

My stupid pets
All of my best FRIENDS

Random photos of things I’ve seen that happened to trend and get reblogged:
The Pixies, a stop sign in LA

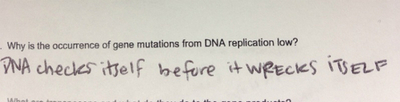
And my #1 post of all time!! Some dumb joke I wrote while doing my biology homework (over 700 likes).
Go ahead and follow me on tumblr! Or if you don’t have an account you should join, it’s a fun place to collect inspiration and build community, if Tumblr isn’t for you there is always another social media option… 😉 (see links below)

Being able to make something useful out of something forgotten is one of many joys in my life. Such as this new trend of turning old books into new journals. It is a terrific idea, however I am not a fan of these spindly spines people are using. The spirals fit awkwardly on shelves, in bags, and generally look tacky. A perk of having an old book is also having its old spine to really enhance the character and give it an element of mystique, which brings us to why I have taken this book converting craze one step further:
HOW TO TURN AN OLD BOOK INTO A JOURNAL THAT ACTUALLY LOOKS LIKE A BOOK WITH A REAL SPINE AND REAL PAGES INSIDE!
The process is really quite simple, and a great learning experience. I created this at-home version of book binding by looking over some books to see how they were bound. I have broken down the process into 3 basic steps, and included pictures and texts to help you along the way. Best of luck, have fun! Or skip the hard part, and buy a custom book from me on Etsy!

BEFORE YOU BEGIN gather the following supplies. Attainable around the house or any office supply store ever.


 STEP TWO Cut two new spines out of the thin cardboard to match the same height and width of the book’s spine. Set aside one cardboard spine for now, this will be the backbone.
Take the second piece and use your ruler and push-pin to create the holes where you are going to sew your pages to the cardboard with needle and thread. As you can see the book spine looks like the neck of a guitar.
Sew your pages into the spine, this will make a very sturdy book. Start in one hole and work your way up and down the spine, closing every gap, and tie off on the outside. Start with the first group of pages and work your way right to left until all 5 group are secured to the cardboard. The tighter the better.
Now that you have a cardboard spine and 200 lovely pages to write on, you can attach this spine into the old book.
Carefully remove the old pages from the book. Use sharp scissors or an exacto knife. Take extra caution when removing the spine from the back as not to tear the cover where the layers are very thin. I made this mistake and tried taping it back in place. Lesson learned.
Once you have the old pages out, recycle them, throw them in the air, burn them, fold them into 500 paper cranes, you do not need them anymore.
Now use your permanent double-sided tape, I used 3M squares. You can also use a glue gun. Tape the single cardboard strip to the spine, press it down. Do the same thing with the spine that you sewed your pages too, press it down.
 STEP 3 involves glue and precision.
You have a book, but you want to seal it. Use some paper with a heavier weight, decorative scrapbook paper, wrapping paper… anything that fits your desired look. I used my favorite silver resume paper. You can find some fun styles on papers-papers.com, or any local office supply or craft store.
First use your glue stick to glue down the very first page of your book to the inside of the front cover. Use lots of glue and seal it with your hand. Do the same thing with the last page and the inside of the back cover.
Second, use your “fancy” paper to cover the inside of the front cover and the second page. This decorative page should lie flat between the two pages beneath it. Glue it down, press, and crease it. Repeat on the back side. Cut back any paper that extends past the edges.
You did it! Congratulations. You have created your very own book.

I personalized the journal even more by glueing an open envelope to the back page for my friend to keep mementos in. I also wrote a note on the front, since it is a gift.
Be as creative as you want with your pages and content! This is your creation, be proud that no one else has a book like yours.
For more helpful how-tos and musings, subscribe to my blog or follow my accounts @itsa_Lisa on Twitter Pinterest and Instagram! I’m here to help you, my fellow creative friends!
Want to share this post on Pinterest? Try these images:


